
We all know that the best way to be gluten and/or dairy free is to choose foods that are NATURALLY gluten and dairy free. We do this for many reasons - to avoid pesticides, mites, molds, synthetic fortified vitamins, to improve gut health and function, to ease liver and metabolic burden, and to help with conditions that affect mental health, reproductive health, and endocrine health, as well as autoimmune conditions. Let's be honest - we all get those cravings. Comfort foods are there for just that moment when you need something comforting, have a craving, or maybe simply because you are feeding children or guests and you want to be respectful of their food preferences. These are recipes that even you can use and make while also staying the in the guidelines of gluten free and dairy free habits.
The best gluten free substitutes are those that are not laden with hydrogenated oils, sugars, or other "unclean foods" like GMO's (corn and soybeans) or preservatives. Some, like cheese, are a bit of a compromise, while others have some pretty good choices. When reading labels, ask yourself, "could I have these ingredients in my kitchen?" Many times we could make these ourselves given time or money, but let's face it, we either have one or the other.
Dairy free cheese is difficult because some cheese do better at some things than others. For instance, you may want your cheese to shred, melt (without separating), or become a sauce. Other times you may want it to be spreadable, or be able to be cut into slices or cubes. This is why cheese can be a compromise, and why I used the two cheeses below - one great for shredding and melting, the other great for spreading.
These are some of the best products we've found to allow you to continue your food journey, while exploring some of your favorite dishes, guilt-free.
Our Appetizer - cheese and crackers!
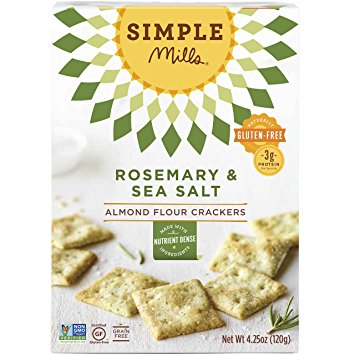
Our appetizer for this evening was a simple cheese and cracker spread!
My favorite brand is Simple Mills, for many gluten-free products! Why? Many of their products are made with simple ingredients that you may already have in your house! Keep in mind that while their products are guaranteed gluten free, some may contain dairy, like cheese flavored crackers. You can find these in many stores like Whole Foods, Lucky's Market, Fresh Thyme, or you can find online on Amazon, Vitacost, and Thrive Market.
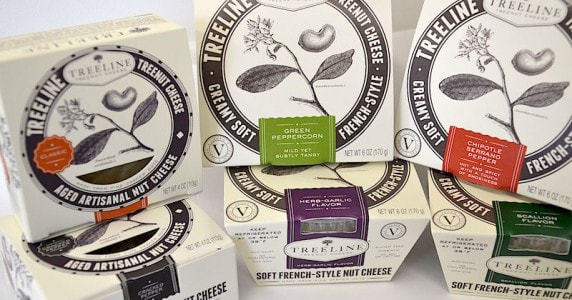
Our cheese spread for the evening came from Treeline. Treeline makes a variety of flavors and we enjoyed the Cracked Pepper and the Scallion. This is a cashew cheese and is spreadable. I've only been able to find this cheese at Whole Foods and Fresh Thyme.
My favorite brand is Simple Mills, for many gluten-free products! Why? Many of their products are made with simple ingredients that you may already have in your house! Keep in mind that while their products are guaranteed gluten free, some may contain dairy, like cheese flavored crackers. You can find these in many stores like Whole Foods, Lucky's Market, Fresh Thyme, or you can find online on Amazon, Vitacost, and Thrive Market.
Our cheese spread for the evening came from Treeline. Treeline makes a variety of flavors and we enjoyed the Cracked Pepper and the Scallion. This is a cashew cheese and is spreadable. I've only been able to find this cheese at Whole Foods and Fresh Thyme.
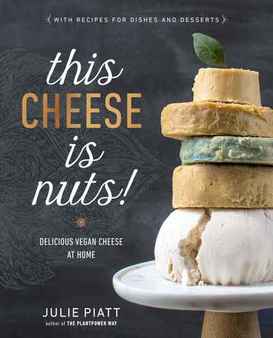
Want to try your hand at making your own cheese? Check out this book here for recipes and ideas! You can also follow the recipe at the bottom of the pages if you are feeling creative! |
|
Mac 'n' Cheese

Mac and Cheese
- 1 package of Tinkyada organic brown rice noodles boiled and strained (can buy at Whole Foods, Fresh Thyme, Lucky's Market, Good 4-U Nutrition, and many grocery stores like Shop 'N Save) Hint: Cook these a little al dente since we'll be mixing them with the cheese later
- 2 Packages of Chao Cheese Original Flavor (more like a swiss cheese)
- 1 Package of Chao Cheese Tomato Cayenne Flavor (optional for taste, can use another package of the Original Flavor)
- Water to thin the cheese sauce
- Salt and Pepper to taste
- Nutritional yeast topping for added texture/cheese taste
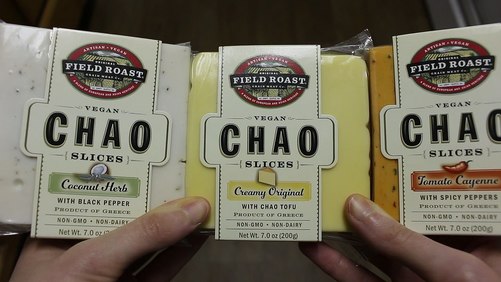
Chao cheese is a compromise in ingredients because it does contain soy. It comes sliced, but you can hold it in a block and shred it for making pizzas, and it melts well. We had this cut up into small pieces for tasting, for crackers, and you can put the slices over a gluten free chicken parm, or on gluten-free sandwiches. The Tomato Cayenne is great for a nacho dip, adding in some Ro-tel tomatoes makes it really pop! You can find chao at Whole Foods, Fresh Thyme, and now even at Walmart! Good 4 U Nutrition used to carry it, but I think they stopped when the Walmart in Arnold started carrying it.
Spaghetti with Marinara Sauce
First make your marinara sauce (this also doubles for our pizza sauce). This is a good base, but you can always add other things to it like zucchini, mushrooms, other veggies, ground hamburger, or sausage.
2 tablespoons ghee
1 cup onion, minced
2 garlic cloves, minced
1 1/2 teaspoons dried basil
1 1/2 teaspoons dried oregano
1 teaspoon Italian seasoning
15 ounces tomato sauce
6 ounces tomato paste
1/2 cup water
1 tsp honey
1/2-3/4 teaspoons sea salt
1/2 teaspoon ground black pepper
In a large saucepan, warm the ghee over medium-high heat and then add the onions. Cook for about 5 minutes, and then add the garlic, basil, oregano, and Italian seasoning. Cook for another 1-2 minutes, or until the garlic is tender and the onions are soft and translucent. Reduce heat to medium and add the tomato sauce, tomato paste, water, honey, sea salt and black pepper. Bring to a boil, and then remove from heat. Allow the sauce to sit and cool to room temperature. This will allow the flavors to merry. Use immediately, or store in an air tight container in the refrigerator or freezer.
*Recipe modified from: http://www.allergyfreealaska.com/2014/08/24/simple-homemade-pizza-sauce/
For the pasta portion of this mean, we'll use one of the following brand of noodles
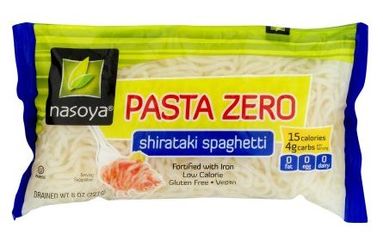
Shiritaki Noodles (these are made of konjac glucomanonn (I don't recommend the soy ones), are high in fiber and great for those with type 2 diabetes)
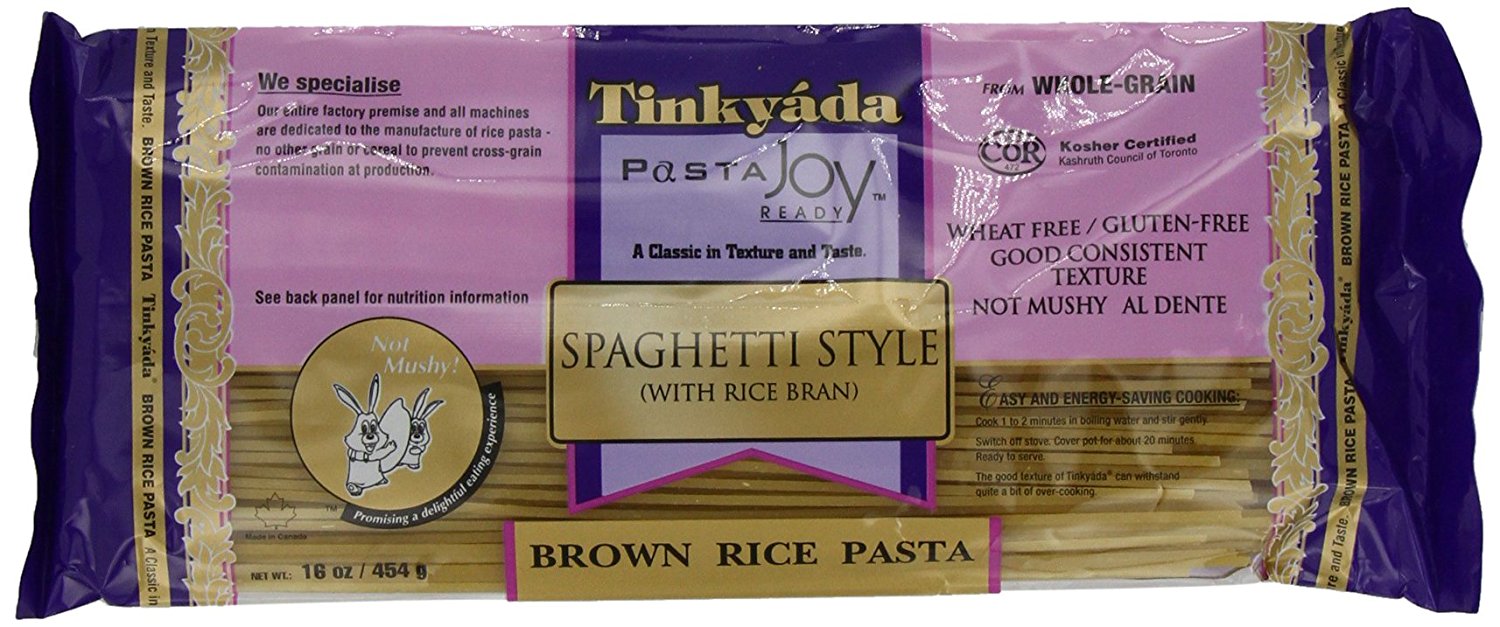
Tinkyada Spaghetti Noodles
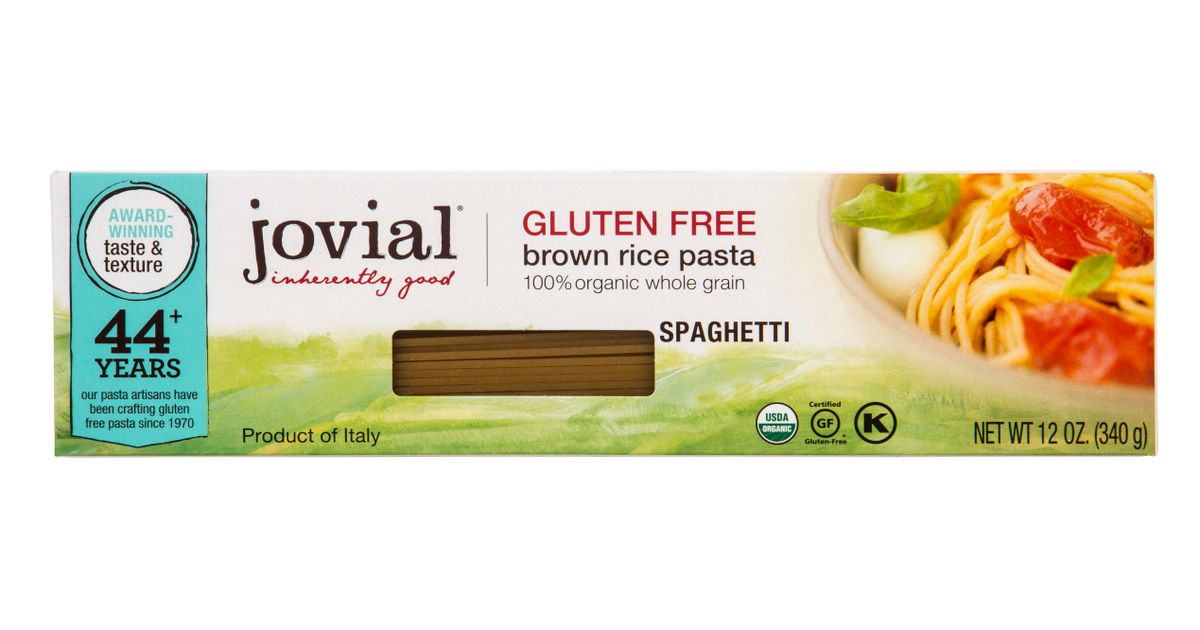
Jovial Spaghetti Noodles (these tend to be a little firmer)
Both the Tinkyada brand and the Jovial brand are made with Rice and water!
Tinkyada I've found is in a lot of grocery stores! Jovial you will find at Whole Foods, Lucky's Market, and Fresh Thyme, along with possibly others.
Cook these to package instructions. Again, I like to make these al dente.
Shiritaki Noodles (these are made of konjac glucomanonn (I don't recommend the soy ones), are high in fiber and great for those with type 2 diabetes)
Tinkyada Spaghetti Noodles
Jovial Spaghetti Noodles (these tend to be a little firmer)
Both the Tinkyada brand and the Jovial brand are made with Rice and water!
Tinkyada I've found is in a lot of grocery stores! Jovial you will find at Whole Foods, Lucky's Market, and Fresh Thyme, along with possibly others.
Cook these to package instructions. Again, I like to make these al dente.
|
|
|
Pizza Mama Mia!
There is no such thing as healthy pizza. I mean it's carbs, cheese, and a few scant toppings. But it's so good! It's Friday night and you just want to chill. So, here you go - pizza!
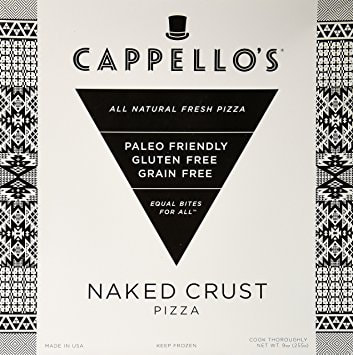
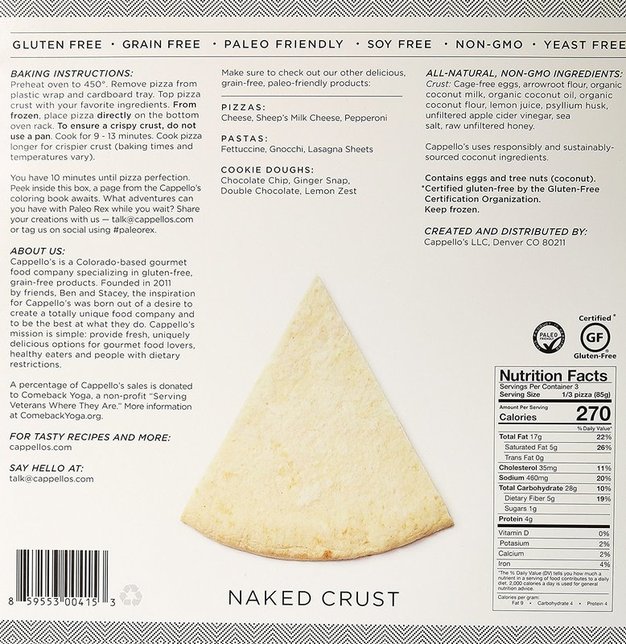
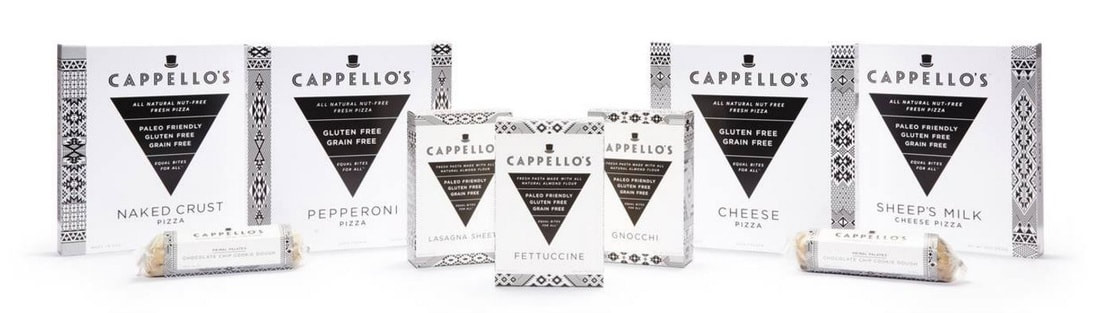
You can make your own crust (check out the recipe below) or if you are like me, I just buy Cappello's naked pizza crust! They have pizzas and other gluten-free goodies too, although they are not entirely dairy free.
1 Cappello’s brand almond flour naked pizza crust (buy at Whole Foods or online at Cappello's)
1 package Chao creamy original cheese shredded
1 container/jar of pizza sauce or homemade recipe from above
1/8 tsp Italian seasoning
Any toppings you would like (keeping in mind toppings should be clean too - look for nitrate and nitrite free, naturally cured meats)
Take the pizza crust from the freezer and top it with pizza sauce (avoid the center so it doesn't get too soft) and then cheese, if you are adding toppings reserve some cheese to put on top of the toppings. I either wrap the edge crust in foil, or smear with ghee to keep it from burning in the oven, otherwise I find the uncovered crust turns dark before the rest of the pizza is cooked. Follow the baking instructions on the box and let cool just a bit before handling. This will ensure the bottom will firm up enough to hold the pizza. Cutting the pizza into squares instead of pie shapes also helps the bottom from being limp.
You can check out the ingredients below, and some of their other products. Sorry, not sorry, I'm a little in love with this product!
Pesto!
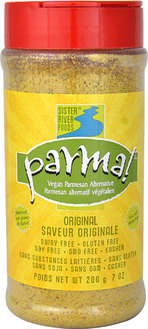
I LOVE Pesto! It's great on pizzas, pastas, etc. But it's also made with Parmesan cheese! Here's a GF/DF pesto recipe - easy to make at home!
Directions:
Easy, right?
Directions:
- To make the pesto, combine basil, garlic, pine nuts and GF/DF Parmesan substitute in the bowl of a food processor; season with salt and pepper, to taste. With the motor running, add olive oil in a slow stream until emulsified; set aside.
- Store in an airtight container in the refrigerator for up to 1 week.
Easy, right?
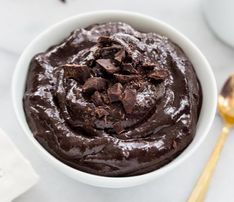
Chocolate Mousse
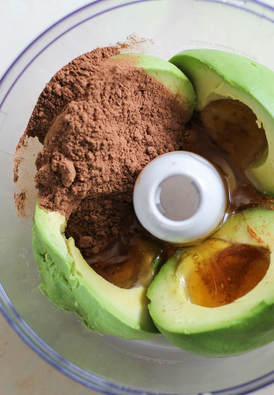
Chocolate mousse is a quick favorite of mine! Toss the ingredients into a blender, and viola!
- 2 ripe avocados.
- 1/4 cup unsweetened cocoa powder or cacao
- 2 - 3 tbsp full-fat coconut milk
- 2 tbsp raw local honey (or your can use maple syrup, soaked and pitted dates, or stevia)
- 1 tbsp collagen powder (optional - I didn't use this)
- 1 tsp vanilla extract
- Pinch sea salt
- Chopped almonds, cacao nibs, or coconut flakes, fruit, etc optional toppings
Like I said, toss all of these into a blender and blend until well, blended.
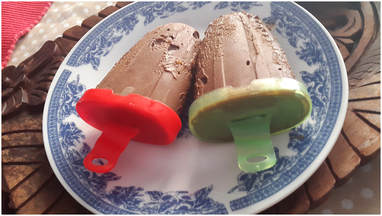
For a cool treat, let this chill in the freezer a bit (just 1-2 hours) and enjoy it cold! Want to make fudge-sicles? Pop this recipe into some ice cube trays or a Popsicle mold, add sticks, and toss (I mean gently place) into the freezer. Great for little ones to enjoy!
I have not done this yet, but ya'll, this can also be used to make a chocolate pie!
|
|
Kombucha Gelee Pie
This is a little invention of my own that can be great to taking to parties when you need to bring dessert, but want something healthy. This can be made Gluten Free and Dairy Free, and even Vegetarian if you can find/use vegetarian gelatin.
WARNING!
YOU NEED TO CHILL YOUR COCONUT MILK FOR THE WHIPPED TOPPING!
Crust
Ingredients:
1 box of Kinnikinnick Gluten Free Graham Crackers (can find at most grocery stores in in specialty ailes).
6 TSB of Ghee Butter (Whole Foods, Lucky’s Market, and other stores)
½ TSB Cinnamon
Pie tin, pie glass, or whatever container you are using that is pie-sized (doesn’t have to be pie shaped – can be an 8x8 or 9x9 dish)
Directions:
SMASH the graham cracker into dust….
Add cinnamon and ghee and mix thoroughly
Dump into your pie-sized whatever
Schmoosh flat to the shape of your dish, try to make it even, but no one will really care
Dump your fruit choice in the dish and prepare your gelee
Gelee Filling
Ingredients:
16 oz of Kombucha (or use your own homemade kombucha and add some pureed fruit such as strawberries, kiwi’s, blueberries or blackberries to flavor it)
2 Tbsp of Vital Proteins grass-fed gelatin powder (can find this on their website or Amazon)
2-3 tsp of raw honey
¼ cup filtered water
Choice of fruit you wish to incorporate mango pieces in the final jello. You can add any other fruit here that you would like to add or leave it out.
A pan large enough to accommodate 16+oz.
Directions:
Pour the filtered water into a pan
Sprinkle the gelatin over the water in a very finely spread out manner (be patient with this step young Skywalker, this prevents clumps)
Allow this to sit for 5 minutes as the gelatin begins to absorb the water – i.e. pour yourself a glass of wine
Add the honey in with the gelatin and water and heat the mixture over medium to low heat until they are fully dissolved together (about 1 min)
Turn off the heat
Add in the kombucha and mix all together until thoroughly combined – the kombucha may bubble –it’s okay, it’ll settle down.
Pour entire mixture into your baking dish on top of the graham cracker crust and fruit.
Give it a few light stirs without upsetting your crust
You’ll think it’s ruined, so just go with it and set in the fridge for 3 hours
Go onto the next step when you’re done crying….
The Dairy Free Whipped TOPPING!
Ingredients:
1 can of coconut milk – full fat, ALL THE FAT! (Use the
1 tsp vanilla extract
A chilled bowl (a bowl that has been placed into the fridge)
Directions:
Get your chilled, canned coconut milk from the fridge – DO NOT SHAKE IT
Open the can and scoop out the separated fat from the liquid and place it in a bowl
Add the vanilla extract to the bowl
Using an electric mixer on high, whip it (real good) until is forms stiff peaks
Schmear on top of your kombucha gelee to cover up your mistakes, then cut the pie and serve.
The pie will hold together for about a week, if there’s any left at all. After that, it’s anyone’s guess.
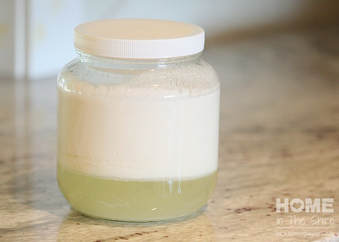
Non-Dairy Yogurt (Coconut Yogurt)
Ingredients:
Directions:
1. Heat coconut milk to about 130oF and turn the burner off.
2. Stir in 1 tsp of honey and stir until incorporated
3. Sprinkle gelatin into the pan of warm coconut milk and begin mixing well. The gelatin will take a few
minutes of stirring to get fully mixed into the milk.
4. Pour the mixture through a strainer, into a quart sized mason jar. This get the gelatin clumps out.
5. Let cool to 110oF, then add probiotic and mix well.
6. Cover the mason jar with a coffee filter lint free cloth and secured it with a rubber band, or if you have
a yogurt maker, use that.
7. To keep the yogurt warm, you can use the oven and put the jars in with the oven light on or you can
place them on or near a heating pad on low.
8. Culture at around 108oF for 12-16 hours. Separation is normal, it does not mean anything is wrong.
9. After the incubation time, set the jar(s) in the fridge. Yogurt will not thicken until after refrigeration
time. Thickening may take up to 24 hours.
10. You can enjoy your yogurt now, like this, or you can place is in a food processor blend until
smooth. Feel free to add vanilla or chocolate extract, cinnamon or molasses or any flavors you would like.
11. Pour the yogurt back into the container and store in the fridge for 1-2 weeks.
This makes a great base for dressings, marinades, fruit dips, and veggie dips.
- 2 13.5-ounce BPA free cans of organic full fat coconut milk. (Native Forest Simple is the best to use)
- 1 Tablespoon gelatin from Vital Proteins gelatin (on Amazon)
- 1 tsp raw honey
- 1 50 billion IU probiotic pill or a little bit of this probiotic powder.
Directions:
1. Heat coconut milk to about 130oF and turn the burner off.
2. Stir in 1 tsp of honey and stir until incorporated
3. Sprinkle gelatin into the pan of warm coconut milk and begin mixing well. The gelatin will take a few
minutes of stirring to get fully mixed into the milk.
4. Pour the mixture through a strainer, into a quart sized mason jar. This get the gelatin clumps out.
5. Let cool to 110oF, then add probiotic and mix well.
6. Cover the mason jar with a coffee filter lint free cloth and secured it with a rubber band, or if you have
a yogurt maker, use that.
7. To keep the yogurt warm, you can use the oven and put the jars in with the oven light on or you can
place them on or near a heating pad on low.
8. Culture at around 108oF for 12-16 hours. Separation is normal, it does not mean anything is wrong.
9. After the incubation time, set the jar(s) in the fridge. Yogurt will not thicken until after refrigeration
time. Thickening may take up to 24 hours.
10. You can enjoy your yogurt now, like this, or you can place is in a food processor blend until
smooth. Feel free to add vanilla or chocolate extract, cinnamon or molasses or any flavors you would like.
11. Pour the yogurt back into the container and store in the fridge for 1-2 weeks.
This makes a great base for dressings, marinades, fruit dips, and veggie dips.